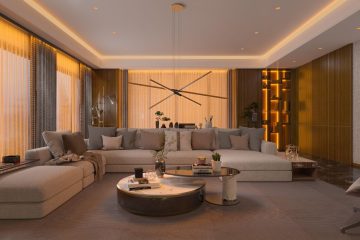
How to Make a Property Photography Ready Before a Listing Goes Live
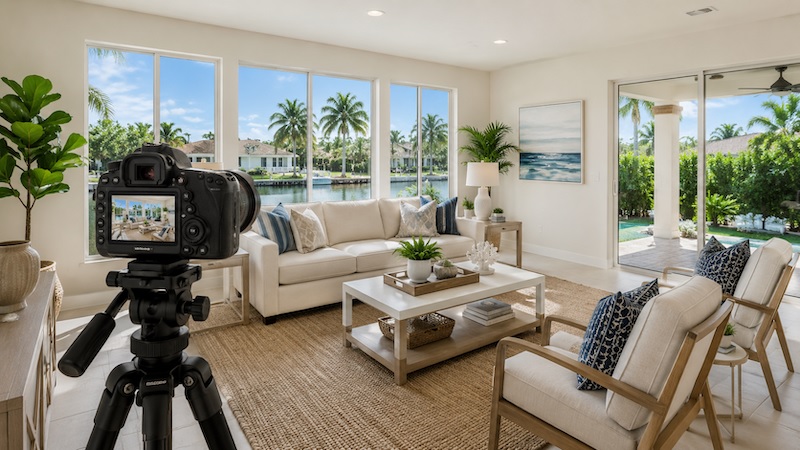
A property can look tidy during an in-person visit but still appear cluttered, dark or poorly arranged in photographs. Preparing for professional photography requires more than cleaning, as every room, surface and piece of furniture contributes to how the property is presented online.
Why Property Preparation Matters Before Photography
Professional photography captures more than the main features of a property. It records the relationship between furniture, walls, windows, flooring and smaller objects, meaning arrangements that seem acceptable in person can look distracting or unbalanced on camera. Preparing each room before the photographer arrives gives the images a clearer sense of space and purpose.
This is where interior design for property staging can help guide practical decisions about furniture placement, room balance and visual focus. The aim is not to make every room look heavily styled, but to ensure that the existing space is presented clearly and that its useful features are easy to understand from photographs.
Preparation should also include maintenance and cleaning rather than leaving minor issues to be corrected through image editing. Marks on walls, damaged fittings, loose cables, dusty surfaces or tired soft furnishings can remain visible in photographs. Completing these tasks beforehand also gives the photographer a cleaner starting point.
For London properties, preparation may need to account for the characteristics of the building. A compact flat, narrow Victorian terrace or period property with smaller windows may require different adjustments from a large modern home. The objective is to work with the available space rather than trying to make every room look larger than it is.
Declutter, Reposition Furniture and Establish Focal Points
Decluttering should begin with the items that have accumulated through everyday use. Remove excess ornaments, paperwork, shoes, laundry, children’s items, excessive toiletries, pet accessories and other objects that do not contribute to the room’s intended use. These details can become much more prominent in wide-angle photographs.
Furniture should be reviewed with the camera position in mind. A large sofa, occasional chair or storage unit may work perfectly well for everyday living but restrict the photographer’s view of the room. Where possible, remove unnecessary pieces while keeping enough furniture to demonstrate how the space can realistically be used.
Avoid pushing every item against a wall simply to create floor space. Furniture can sometimes be positioned slightly differently to create a more natural composition, define a seating area or reveal architectural features. The photographer should be able to capture useful views without furniture blocking doorways, windows, fireplaces or other important features.
Each room should also have a clear visual focal point. In a living room, this could be the fireplace, seating arrangement or a strong architectural feature. In a bedroom, the bed will usually provide the main point of focus. Keeping surrounding surfaces relatively quiet helps the main feature stand out without excessive decoration.
Make the Most of Light, Windows and Reflections
Natural light can have a significant effect on how a room appears in photographs. Clean windows before the photography session and remove anything that unnecessarily obstructs them. Open blinds and curtains where appropriate so that available daylight can enter the room.
Curtains should hang neatly rather than being bunched unevenly at the sides of windows. If they are part of the room’s visual character, they can remain in place, but they should not cover more of the window than necessary. Net curtains, blinds and other window coverings should also be checked for dust, marks or uneven positioning.
Mirrors require particular attention because they can reflect clutter, equipment, windows or unwanted parts of the room. Position them so they contribute to the composition without creating distracting reflections. This is especially relevant in narrow hallways and compact London flats where mirrors are often used to make better use of limited wall space.
Where natural light is restricted, switch on appropriate lamps and light fittings if they contribute positively to the image. Replace failed bulbs beforehand and check that different fittings provide a consistent appearance. Avoid leaving unnecessary lights on simply for the sake of brightness, as this can create competing colour tones or distract from the room itself.
Complete the Finishing Touches Room by Room
In the kitchen, clear worktops as much as practical. Put away washing-up liquid, cleaning products, food packaging, drying racks and excessive appliances. A few useful items can remain if they help communicate the purpose of the space, but everyday clutter should be removed. Clean cabinet fronts, sinks, taps and visible appliances before the photographer arrives.
Bathrooms benefit from the same approach. Remove toiletries from shower areas and excessive products from vanity units. Close toilet lids, straighten towels and check mirrors, taps and shower screens for marks. Bins, cleaning products and laundry should be removed from view.
In bedrooms, make the bed carefully and keep bedding smooth and appropriately arranged. Cushions can add structure, but too many can make the room appear over-styled. Clear bedside tables of chargers, medication, paperwork and personal belongings, while keeping useful furniture such as bedside tables and wardrobes visible.
Living rooms should feel organised without appearing staged to the point of being impractical. Straighten cushions, fold throws neatly and remove unnecessary objects from coffee tables and shelving. Cables from televisions, lamps and other equipment should be concealed or organised where possible.
Hallways and entrances should not be overlooked. Shoes, coats, umbrellas, bags and delivery items can quickly make narrow spaces appear congested. Clear the floor, tidy the entrance area and ensure that doors, handles, skirting boards and visible surfaces are clean. These transitional areas may appear in wider photographs and can influence how the property’s layout is understood.
Consistency is important throughout the property. If one room is carefully prepared while another remains cluttered, the photographs may give an uneven impression of the home. A professional home staging company can help ensure the same level of attention is applied to every room and connecting space, including areas that may seem secondary.
The Final Check Before the Photographer Arrives
Complete a final walk-through from the position where a camera is likely to be placed in each room. Look through doorways, towards windows and across the main areas of the property, checking for visible clutter, unnecessary furniture, cables, bins, cleaning products and personal items.
This final check should also cover lights, curtains, mirrors, beds, cushions and surfaces. If something catches the eye for the wrong reason in person, it is likely to be noticeable in the photograph as well.
Taking a few test photographs on a phone can provide another useful perspective. Review them for blocked views, distracting objects and inconsistencies between rooms, then make any final adjustments before the professional photography session begins. Good preparation allows the photographs to communicate the property’s layout, condition and intended use clearly without relying on extensive editing afterwards.